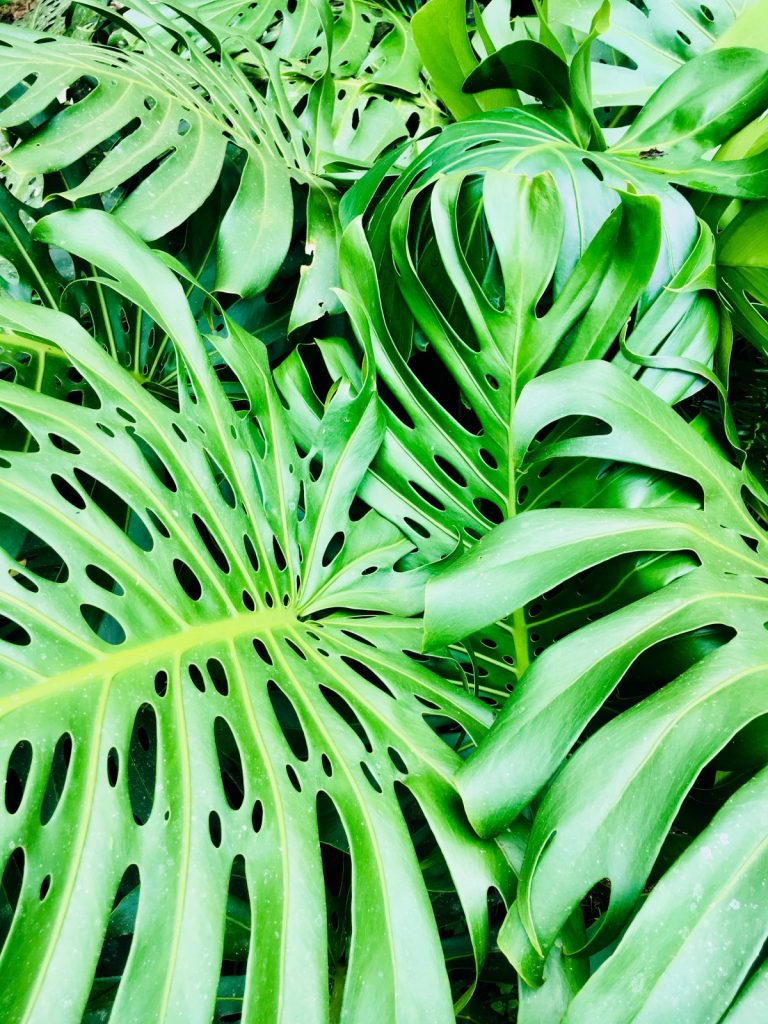
A monstera that has climbed past the curtain rod presents a choice: cut a long stem and hope the leafless base resprouts, or make the stem root while it is still attached to the mother plant. Air layering takes the second route. The stem keeps its water and sugar supply, while a wounded section is packed in damp moss until roots push through.
When a stem is too long to cut
Reach for a layer when a stem is two to five feet long with leaves crowded at the tip, or when a philodendron has outgrown its moss pole and the only cut you can make would leave a bare stub. A conventional cutting removes the growing tip from its reservoir of roots. A layer keeps that connection until new roots are strong enough to take over.
Choose a healthy stem that is firm and between pencil and thumb thickness. Soft new growth collapses under moss, and old corky stems callus slowly. Look for a node with an aerial root nub and at least one healthy leaf above the intended site.
Start in spring or early summer, when the plant is making new leaves and indoor temperatures stay near 70°F to 80°F. A layer started in late fall may sit through winter without roots. If you use a grow light and keep the room warm, the window widens.
Choosing and wounding the site
Pick a site six to twelve inches below the growing tip. A node that already shows a short aerial root is the best landmark because the tissue is primed for root growth. Avoid the lowest leafless section and any spot within two inches of a fresh cut or damaged leaf.
Wipe the blade with 70% isopropyl alcohol and let it dry. You can wound the stem in one of two ways. For an upward slant cut, make a cut about one to one and a half inches long, angled upward at 30 to 45 degrees, through the outer layer and stopping at one-quarter to one-third of the stem’s diameter. For a ring cut, remove a half-inch band of outer tissue around the stem. Either way, the wound must expose living tissue beneath the outer layer but leave enough inner stem to hold the top upright.
Slide a toothpick or a folded wad of damp moss into the slit so the cut stays open. If you use rooting hormone, dip the wound in water and then in a 0.1% indole-3-butyric acid powder, tapping off the excess. A thick layer of powder can hold moisture against the tissue and do more harm than good. One site per stem is enough; multiple wounds tax the same shoot.
Sphagnum, moisture, and wrapping
Soak sphagnum moss for twenty to thirty minutes, then squeeze it until no water runs out. The moss should be moist, not dripping. A handful should hold its shape and release only a drop or two when pressed. Sphagnum that drips inside the wrap keeps the wound wet and invites rot.
Mix three parts damp sphagnum with one part perlite for a lighter, airier pack. Pull the moss apart and pack it two to three inches thick around the wound, working it into the slit. Do not compress it into a dense ball. Roots need oxygen as much as moisture, and tight moss drives both air and roots away.
Wrap the ball with clear plastic eight to twelve inches wide and secure it above and below with twine, grafting tape, or waterproof tape. The plastic should seal in humidity without crushing the stem. Poke two or three pinholes in the top for slight gas exchange. Write the date on the tape; a layer may stay wrapped for months, and memory is unreliable.
If direct sun hits the wrap, cover the plastic with aluminum foil, leaving a flap you can lift for inspection. Otherwise, leave the plastic clear so you can see roots without opening the package.
Checking for roots without unwrapping
Roots usually become visible through the plastic in four to ten weeks when the room stays at 70°F to 80°F. At 65°F, expect eight to twelve weeks. In winter, or on a thick stem, the wait can run longer.
Check every seven to ten days without unwrapping. Condensation should be visible on the inside of the plastic, but water should not pool at the bottom. White root tips, then branching roots, mean the layer is working. Green algae on the moss is cosmetic; black, slimy moss is not.
Do not tug the stem to test for roots. The new roots are attached to the moss and to the stem, and a pull can tear them. If the moss looks pale and dry and condensation has disappeared, inject ten to twenty milliliters of water through the plastic with a syringe. Wait a day and check again before adding more.
Sever the layer when roots are one to two inches long and have started to branch. A dense ball of roots three or four inches long is also ready, but leaving it too long makes the moss ball harder to manage. If you see only callus after ten weeks, give it two more weeks before you investigate.
Severing and potting
Cut the stem one inch below the moss ball with a clean, sharp knife. Use one firm stroke; a sawing motion crushes the stem and damages the roots just above the cut. Keep the moss around the roots. Washing it away looks tidy but breaks the fine roots that have grown into it.
Pot the layer in a four- to six-inch container with drainage. Use a chunky mix of three parts orchid bark, one part perlite, and one part potting mix. Set the root ball at the same depth it had in the wrap, fill around it, and water until the excess runs out. Do not bury the stem deeper than it was growing.
Keep the new plant at 70°F to 80°F in bright, indirect light. A clear plastic bag over the pot for one to two weeks holds humidity while the roots settle; open it daily for an hour. Expect some wilting for three to five days. Soft, black stem tissue instead of a temporary droop points to rot, not shock.
Stake the stem if the top is heavy. Wait three to four weeks before fertilizing at half strength. The mother plant may push a new shoot from the stub in four to eight weeks. Cut the stub back to a node only after that shoot is growing, or leave it if you want the old stem to branch.
Failures: dry moss, rot, and too-thick stems
Dry moss is the most common failure. It turns pale, feels crunchy through the plastic, and stops supporting root growth. Unwrap the layer, soak the moss again, and rewrap it. If the wound has callused but not rooted, a fresh shallow cut can restart the process.
Rot shows up as black, soft stem tissue and a sour smell. Remove the wrap, cut away the mushy tissue back to firm stem, discard the old moss, and repack with fresh damp moss. If the rot has moved below the node or the stem collapses when squeezed, discard the layer and take a clean cutting from healthy tissue instead.
Stems thicker than a thumb, or old woody stems with hard bark, callus slowly and may never root through a simple slit. Use a ring cut, extend the moss wrap, and allow ten to sixteen weeks. A top cutting in a chunky mix may be more practical than a layer on a very old stem.
Heat can also defeat a layer. Plastic wrapped around a stem in direct sun can push the internal temperature above 90°F and cook the tissue. Move the plant back from the glass or shade the wrap with foil. If no roots appear after twelve weeks, open the wrap, check that the wound still includes a node, and recut if necessary.